Drapping on the stand
Working from my final garment design I began by drapping on the stand. I used scrap fabric and experimented with putting in darts and pinning. I cut off excess fabric and cut the neck and arm holes. This gave me a good idea about what my pattern is going to be like such as were the darts will go and were the seams will go. I used tailors chalk to make marks so when I take it off the stand I can see were it needs to be sewn.
This is the front of my drapped toile.
This is a side view of my drapped tiole.
This is a back view of my drapped toile. I have pinned were I indent the darts to go, to give shape to give shape to the garment.I ahve linned it up with the front pattern, with arm holes and seams matching.
Using paper - Take 1
After using fabric I used paper as it is very versitile. It is easy to fold, pin and tape. I aslo used paper to I could take my pattern from the final one.
Front View
Close up on bodice
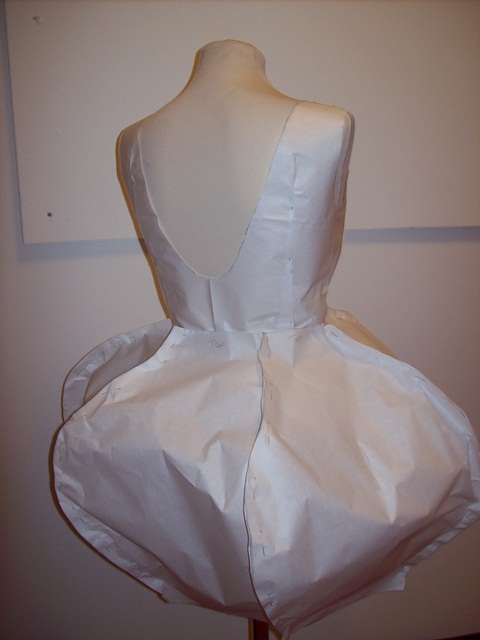
Back View
The pattern pieces for the skirt are too big. I decided to cut out thinner skirt pattern pieces.
Using Paper - Take 2
12 skirt pattern pieces
Front View
Close up view of skirt
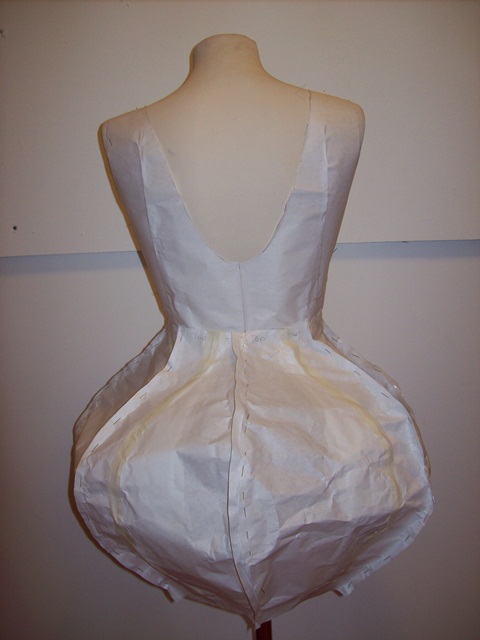
Back View
paper sleeve pattern - 3 pattern pieces per sleeve
Using Paper - Take 3
Final Pattern
6 skirt pattern pieces
Front View - I have joined two pattern pieces from the the previous experiment using masking take
Side view
Back View
I used the skirt pattern piece from this experiment and traced it off to make a pattern block. I made the brought the sides in 2 cm each side. For my final fabric toile I used 7 skirt pieces. This was to allow extra seam allowence and extra for the zip.
For my final garment I decided to cut out 7 skirt pattern pieces as I had previously used for my toile which was successful.